Are you tired of discovering water stains on your ceiling or hearing the drip-drip-drip of a leaky roof? A small leak in your roof can quickly turn into a bigger problem. Finding and fixing the leaks promptly is essential for maintaining your home’s integrity and preventing costly damage. This involves inspecting your roof’s interior and exterior for common culprits like damaged shingles, rusted flashing, and improperly driven nails. The first thing to do when you find a leaking roof is to pay attention to any wall or ceiling discolouration or follow the dripping sound to locate the leak area. It can be challenging as water seeps along materials, so the problem can be far from its visible source. But with a little patience and a trusted roofing contractor, you can tackle this issue and keep your home safe from further water damage.
Find Roofing Leaks to Take Immediate Action and Protect Your Infrastructure
Roofing leaks are a common problem in Norfolk that can cause significant damage to your home if left untreated. Water seeping through your ceiling can lead to the growth of mould and increase the chances of costly repairs. Complex roof structures like chimneys, vents, and valleys create numerous potential leak points that will not be easy to identify.
In the UK, the survey showed that around 33% of homeowners replace their roofs because of persistent leak issues. This costs them an average of £10000–£20000, the approx roof leak repair cost
Follow the following methods to find roofing leaks in Norfolk:
Trace Water Stains— Indication of Water Seeping
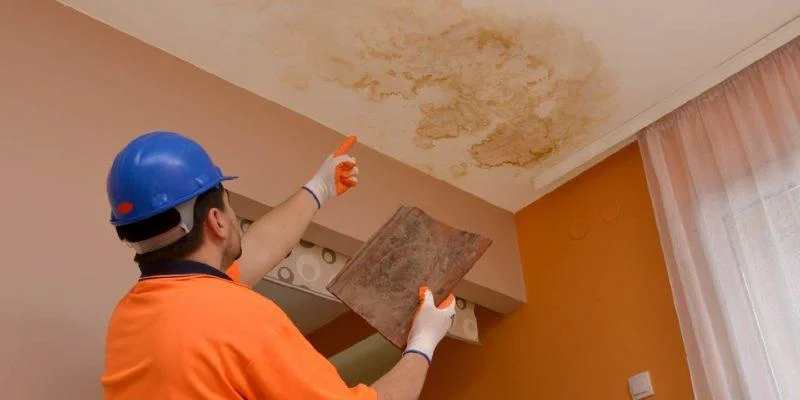
Water leaks can leave behind colourful stains due to the minerals and compounds in them. This causes chalky residue that can be white, grey, or brownish. When finding leakage in your roof, look for circular or irregular stains on the ceiling and walls, as this can lead you to the source. If there are brown, yellow, or copper shade stains, this suggests long-term issues. These stains are more common and prominent in metal roof leaks
Follow the stain upward to locate the leak’s entry point. There is an 80% chance that water travels from its source, so inspect all around the stain carefully.
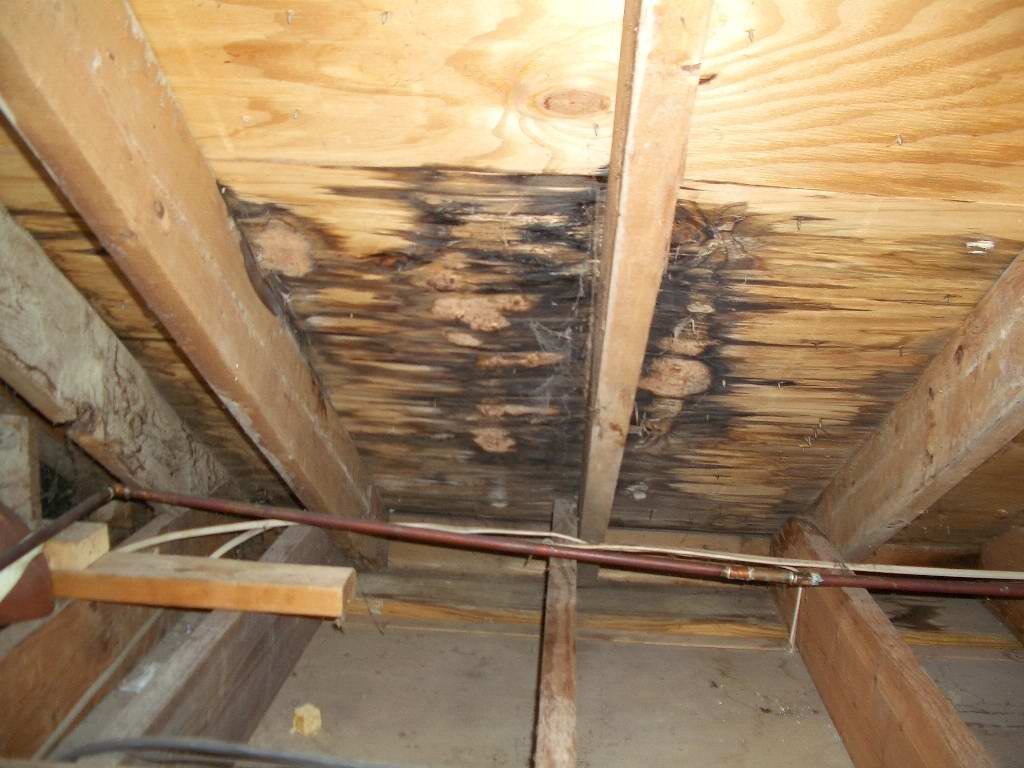
Look for the Signs of Mold to Locate the Damp Area
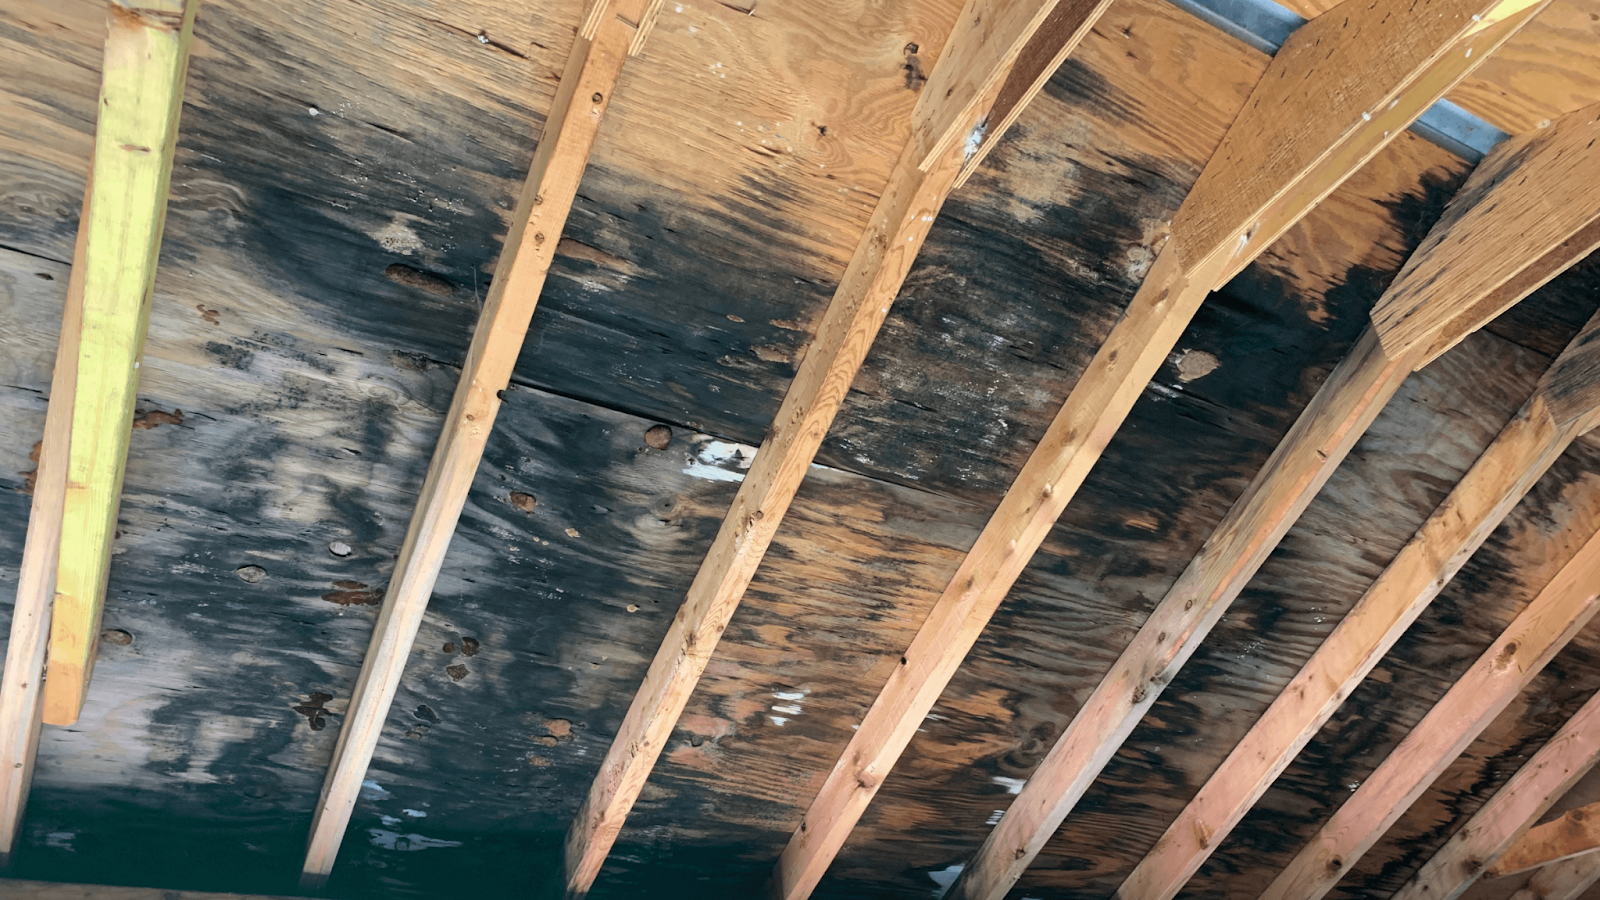
Go into your attic during daylight hours. Check for sagging or damp insulation, which can lose its effectiveness when wet. Identify discoloured wood areas or any visible mould growth around the roof. You will find musty odours that signal moisture presence. If walls feel wet on touch or unusually cold, this indicates dampness. If necessary, bring a flashlight to thoroughly examine the undersides and repair the roof leaks.
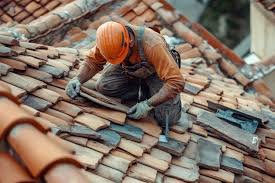
Examine the Exterior of the Roof Thoroughly For Any Damage, Cracks or Compromised Seals
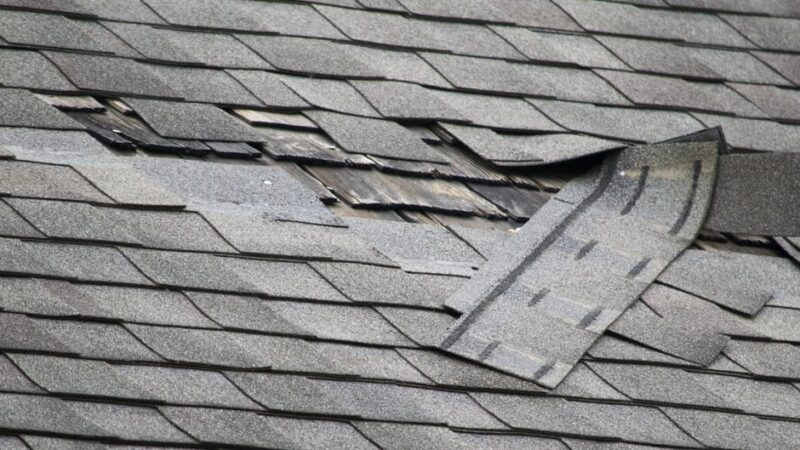
After inspecting the attic for damp spots, climb onto your roof for a closer look. Be careful to use sturdy leather or take any necessary precautions. Check for any missing, cracked or curled shingles that can allow water to penetrate. Do this, especially after heavy storms or intense weather.
Flashing is the metal that seals roof joints and edges. Inspect it around chimneys, vents and joints for rust damage or compromise sealing. These are the common sources of water dripping in the house.
If it is clear, then check for valleys where two slopes meet. Here, debris can accumulate and block drainage, which leads to standing water and resulting seeping into the house. Ensure gutters and downspouts are clear of dust and debris to prevent water pooling. Examine the pipelines and other areas for deteriorated seals or cracks that you might think can let water in.
Perform a Water Test For Pre-repairing Roof Leaks During Heavy Rain
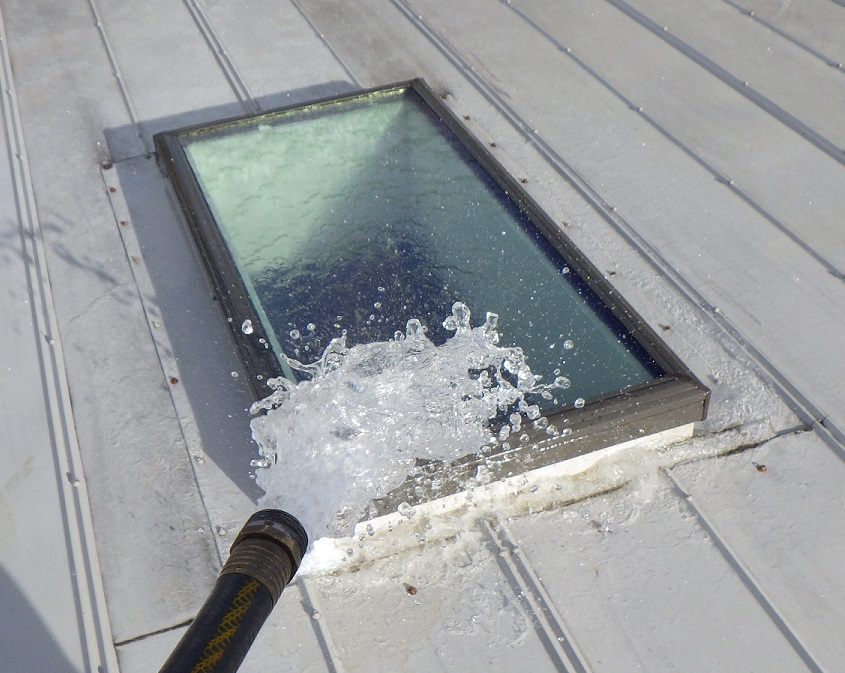
The most effective way to identify roof leaks is to simulate rainfall and observe water entering your home. This method allows you to pinpoint sources if you haven’t been able to locate the leaky area visually. But water tests need a partner to help.
Conducting a water test involves using a garden hose to spray specific areas of your roof while someone inside monitors for leaks.
- Obtain a hose with a spray nozzle.
- Identify the area of the roof where you suspect the leak is occurring. Start at the lowest point of the roof or near any visible stains inside your home.
- Have your helper stay inside the house near the area where you have noticed the drips or water stains.
- Begin spraying water on a small section of the roof for 10-15 minutes, focusing on one area at a time.
- After testing one section, move up or across the roof. This helps isolate the potential leaks.
- Once your helper detects dripping from the ceiling or wet spots appearing on the walls, stop spraying immediately and inspect the area closely.
- Take photos of the area to consult with a roofing contractor.
Use a Mirror or Flashlight to Inspect the Darker Areas
Finding roof leaks in Norfolk houses can be challenging but not impossible. Using a flashlight or mirror is another efficient method to illuminate hidden areas and reveal signs of moisture. They help you inspect the darker or hard-to-reach spots on your roof. You just have to torch the suspicious area where you spot water stains or any other indicators.
If accessible, enter the attic with your flashlight. Shine it along the roof’s undersides, but the main focus is areas near vents, chimneys and valleys. Turn off the light momentarily and observe any sunlight coming through the roof. This indicates the holes that might be the source.
Position the mirror to reflect light in dark corners or tight spaces where moisture might accumulate. It will show you hidden spots that are difficult to see directly.
Another technology is the infrared camera. This can detect moisture by identifying the temperature differences in the roof’s structure. It works best where there has been recent rainfall or high humidity.
Remove Shingles to Find Out the Hidden Spots If Necessary
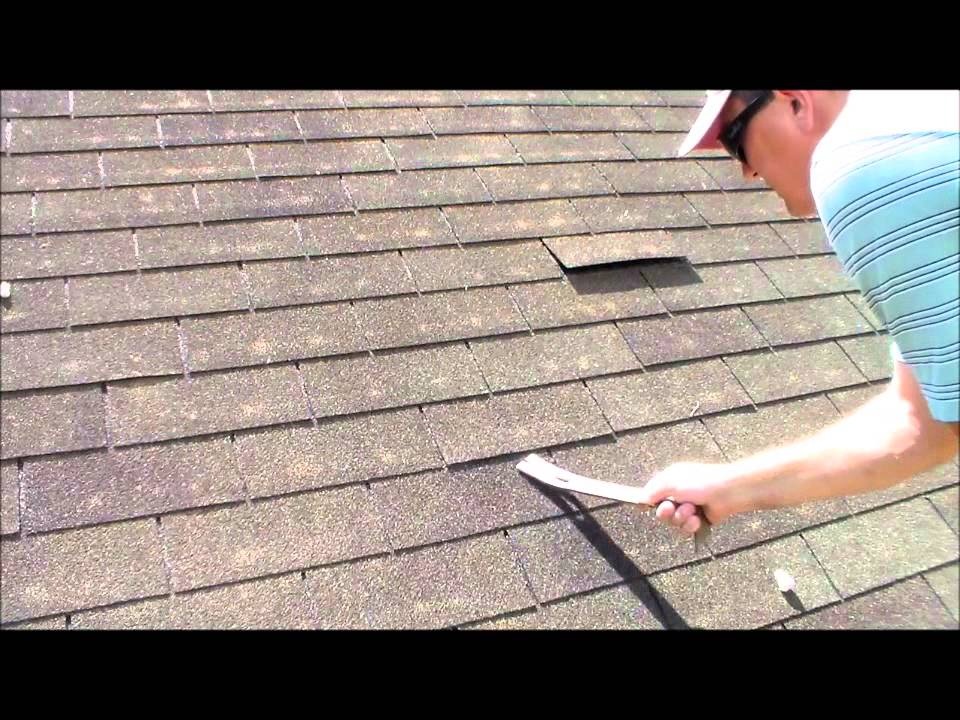
Not at first, but if you couldn’t find any source with the above methods and are having trouble, then try removing damaged shingles or from the suspected area. This allows you to access the underlying materials. However, careful handling is essential to avoid damaging the surrounding shingles.
- Start by locating the area where you find the stain and trace it to its highest point on the roof.
- Use the pry bar to gently lift the shingles, carefully break any seals, and remove the nails holding them in place.
- Once loosened, remove the damaged shingle.
- Examine the felt paper and roof decking for signs of moisture or damage.
- Ensure you replace the shingle, if needed, with proper seal and nailing to prevent future leaks.
Assess Ventilation Pipes for any Debris or Breaks
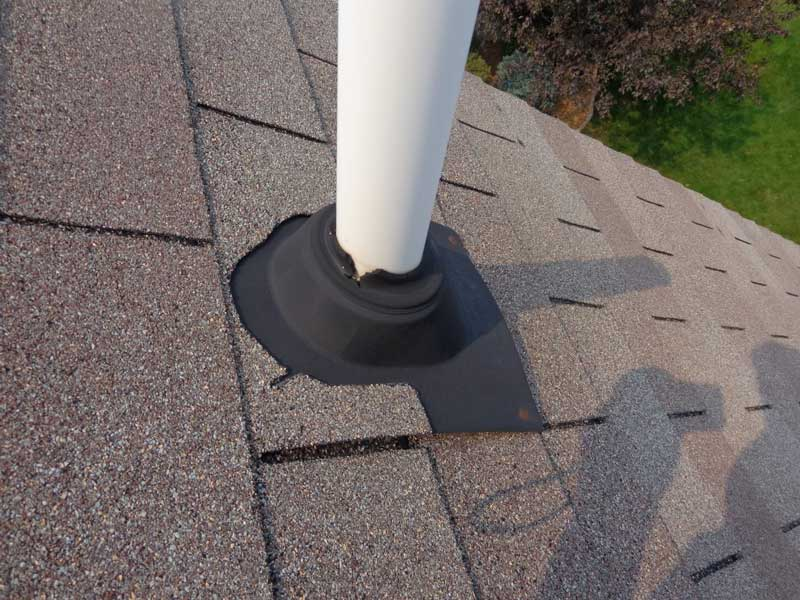
Good airflow is crucial for maintaining a healthy roof and preventing moisture buildup. Properly installed roof vents reduce the risk of condensation and water damage. For it, check the seals around the vent pipes or any rust that causes water pooling. Look for broken seams and ensure the pipelines are clear of leaves that can obstruct airflow and trap moisture.
Leaky Roof Repair To Prevent Leakage | What to Do if Roof is Leaking?
Regular inspections and timely roof repairs from leaks can enhance longevity and protect your home from moisture-related issues. You can opt for DIY approaches for prompt action, but it is always recommended to consult professionals to prevent severe damage and future costly issues.
The Hippo Preparedness Report 2023 suggested that around 78% of homeowners faced unexpected repairs, including clogged gutters and ageing infrastructure. Of these, 64% are concerned about damage to their roofs and home exterior from extreme weather conditions.
Try Temporary Solutions or DIY Approaches to Stop Water Dripping Immediately
If immediate repair by professionals is not possible for any reason, then it is better to make some effort yourself to prevent further damage. There are multiple ways that you can consider to fix water drip, once you locate the leaking spot.
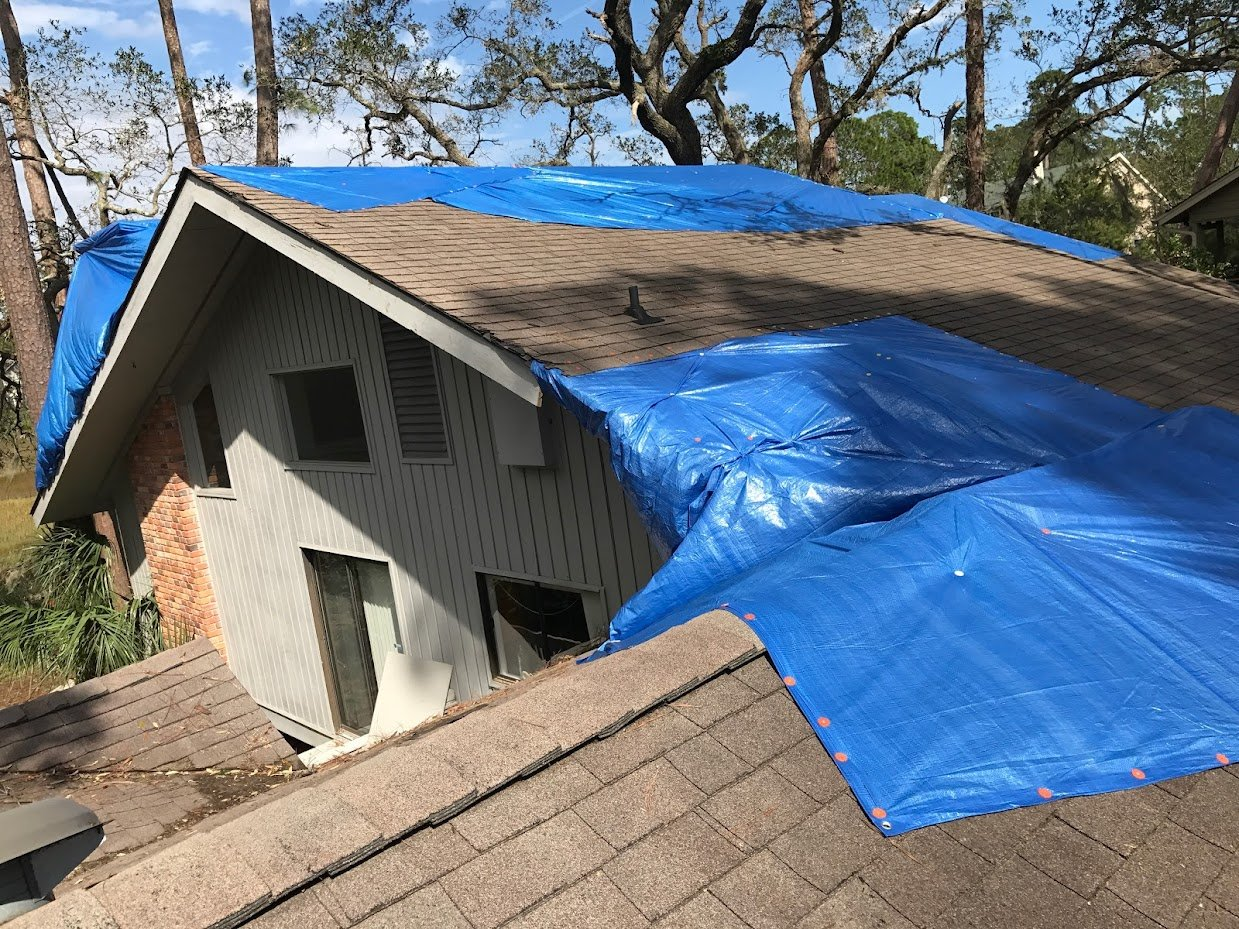
- Waterproof tarp—Cover the damaged area with a heavy-duty tarp and secure it with nails or heavy objects. Ensure the tarp extends beyond the leak to prevent water from seeping underneath.
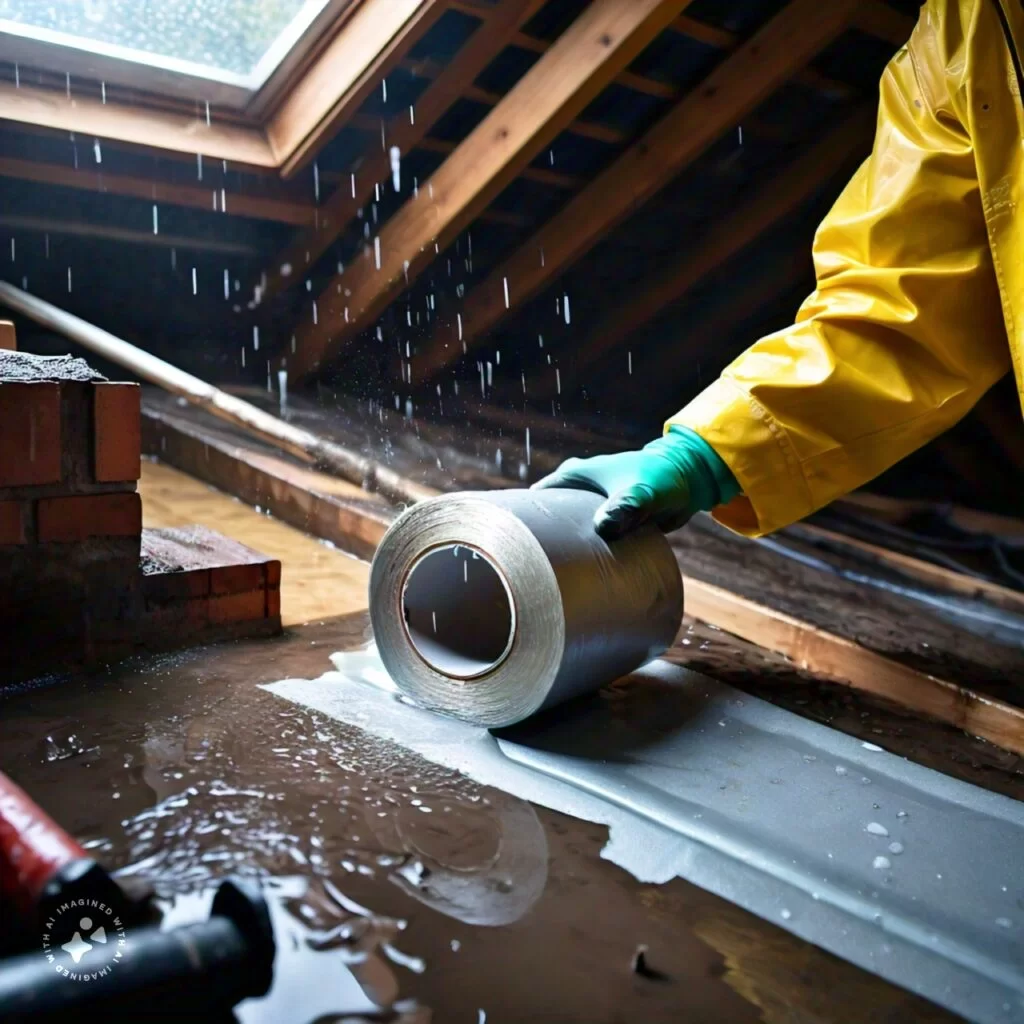
- Roofing sealant— This is used to repair the roof leaks from inside. Apply waterproof tape to small gaps or cracks. This can be done inside the attic for a quick seal until permanent repairs are made.
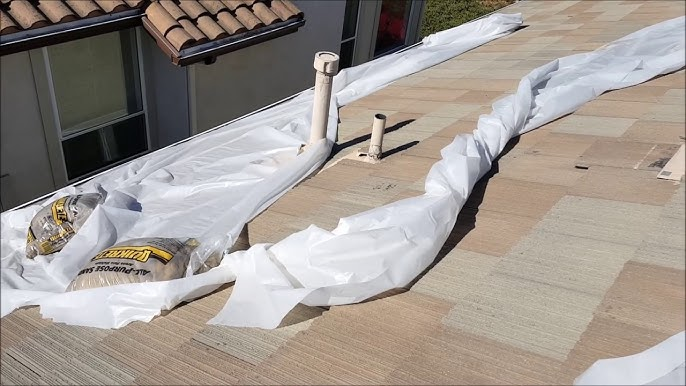
- Plastic sheeting—Use sturdy plastic sheets to cover holes and fix them with nails and sandbags if necessary. This provides a temporary barrier against water intrusion.
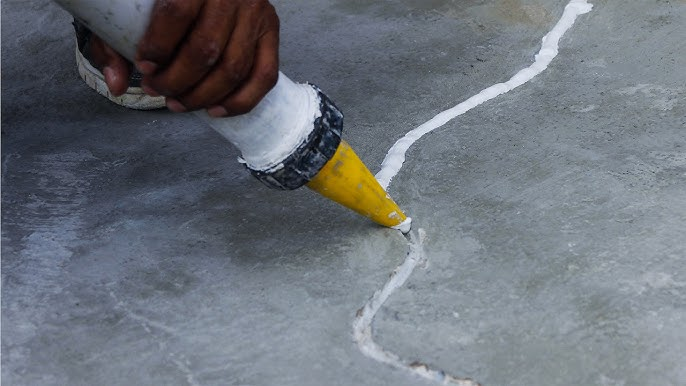
- Seal cracks with cement or tar—Repair small holes by applying roofing cement or tar inside and outside. Ensure it penetrates deeply into the hole for a strong seal. Spread the cement evenly all around with a knife and feather the edges to blend with the surrounding roofing materials. This method creates a patch over the leak until you can conduct permanent repairs.
Repair Damaged Shingles for Permanent Solution of Roof Leaks
Shingles are the most common point where water intrudes into your house. But its repairing requires significant skills to avoid damage to surrounding areas and place them accurately to prevent future problems.
- Use a flat bar to lift the edges.
- Remove nails from the damaged tiles and overlapping shingles above them.
- Clear away any old roofing cement or debris from the area where the new will be placed.
- Nail down the new shingle, ensuring it aligns with the surroundings.
- Apply roofing cement to the corners to create a watertight seal. Press down firmly to ensure proper adhesion and no space for water seeping in.
For cracked shingles that don’t need a full replacement, apply a bead of roofing sealant under and over the crack. Smooth it all over with a putty knife.
Consider Ice and Water Barriers for Enhanced Waterproofing
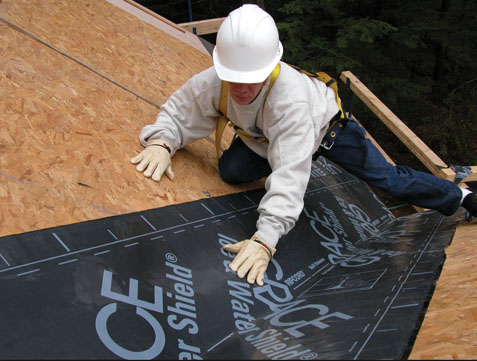
These are self-adhering waterproof membranes made from polymer-modified bitumen. Installing Ice and water barriers beneath roofing materials, particularly in vulnerable areas and around roof penetration, creates a watertight seal and prevents leakage of flat roofs.
- Insert along eaves, valleys and any areas prone to water seep. Extend the barrier at least 2 feet up the roof slope from the edge.
- Peel off the release film during installation to adhere the barrier directly to the roof deck to ensure a tight bond.
Fix Leaks Around Flashing by Replacing and Sealing it
Cracked or old flashing is highly prone to letting water in. Therefore it is essential to repair roof timely or install new ones and maintain the hygiene of your house.
- Use a wire brush to remove rust, dirt and old sealant from flashing. As it can compromise the adhesiveness of new material.
- Apply a thick layer of liquid flashing product, such as Turbo Poly Seal, around the leaks and over all exposed surfaces.
- Place a strip of reinforcing fabric over the flashing while it’s still wet. Press it firmly to add strength.
- Add a second layer over the reinforcing fabric and seal it completely.
- Let it dry completely for 24 hours as per the manufacturer’s instructions.
| Seek Professional Help to Fix Your Roof Leaking Roofing work involves significant risks that might require expertise and experience to be done properly without risk to life. Norwich roofing contractors offer warranties on their work and free inspections that can save you a lot of money. We are familiar with local building codes and have access to high-quality materials to repair leaks at competitive prices to ensure your roof remains free from future potential issues. |
Conclusion:
A leaking roof poses significant risks not just to your home structure but also to the residents’ health. Once damage, mould, or any discolouration has been noticed in the attic, the homeowner must take immediate action to mitigate these effects. By identifying the leak source through visual inspection or using tools like infrared cameras, you can facilitate repair, whether with a temporary DIY method or a permanent replacement of damaged materials.